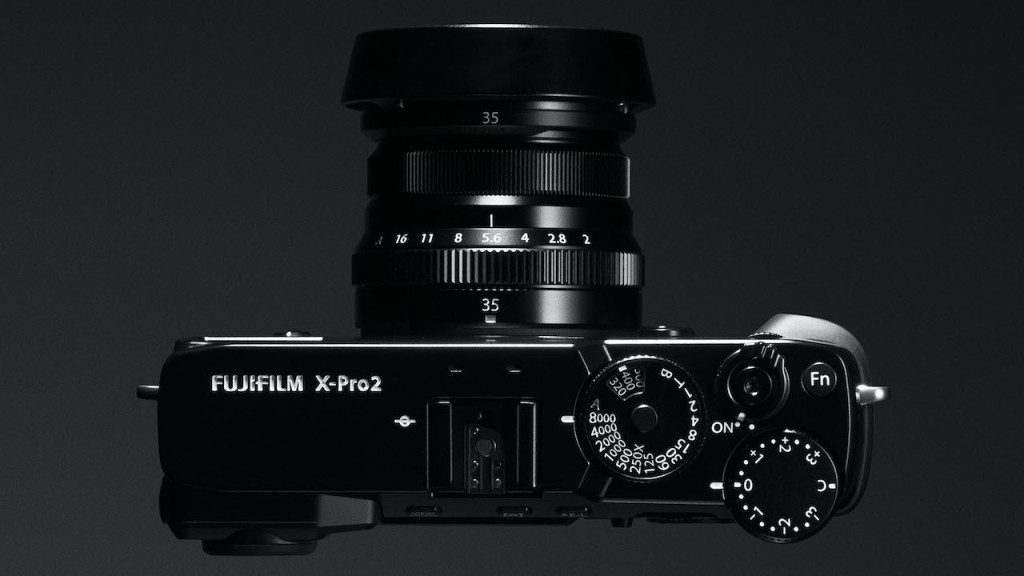
Now that the new Fujifilm X-T2 is out, everybody is talking about its 4K capabilities and the fact that it is the most advanced Fujifilm camera to date when it comes to video recording. However the truth is that the improvements made to the movie department started with the X-Pro2. Thanks to the new sensor and processor, the camera shows a relevant improvement in terms of image quality (less aliasing and moiré, better sharpness and compression) and being able to use the film simulation modes is a nice advantage, as you can see in the example video below which was shot with the new Acros profile.
But what is it like to shoot video with the X-Pro2? What are the best settings to select in-camera and what is the best way to edit and grade the footage?
To answer these questions, professional filmmaker Steve MacDonald started a new blog where he shares examples, tips and tricks. Built in journal format, Steve shares new information on a daily basis as his experience with the camera increases. Some articles focus on custom presets or the best way to customise the buttons and Q menu of the camera; others show you grabbed frames from video footage that has been edited and colour corrected. There are also posts that compare the various film simulation modes from a video perspective. If you are interested to know more about the X-Pro2 for video, this blog is definitely worth checking out!
You can visit Steve MacDonald’s Fuji X-Pro2 blog for video here.

